 Get the latest news, updates, funding opportunities and essential information for members of the Brigham research community
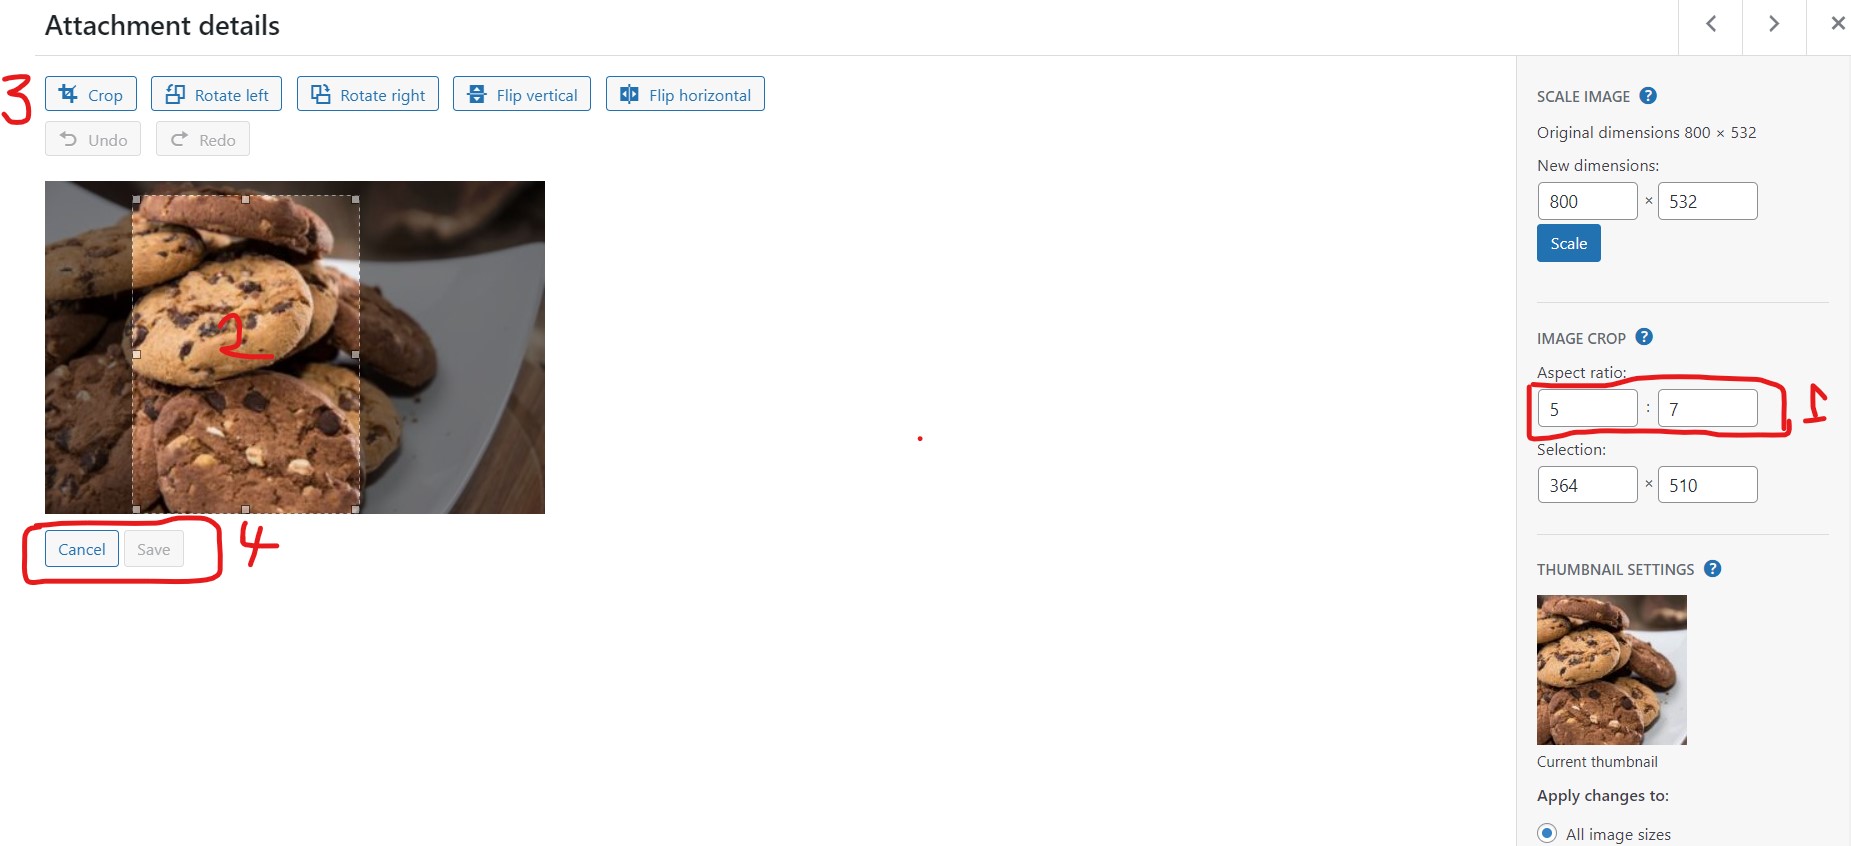
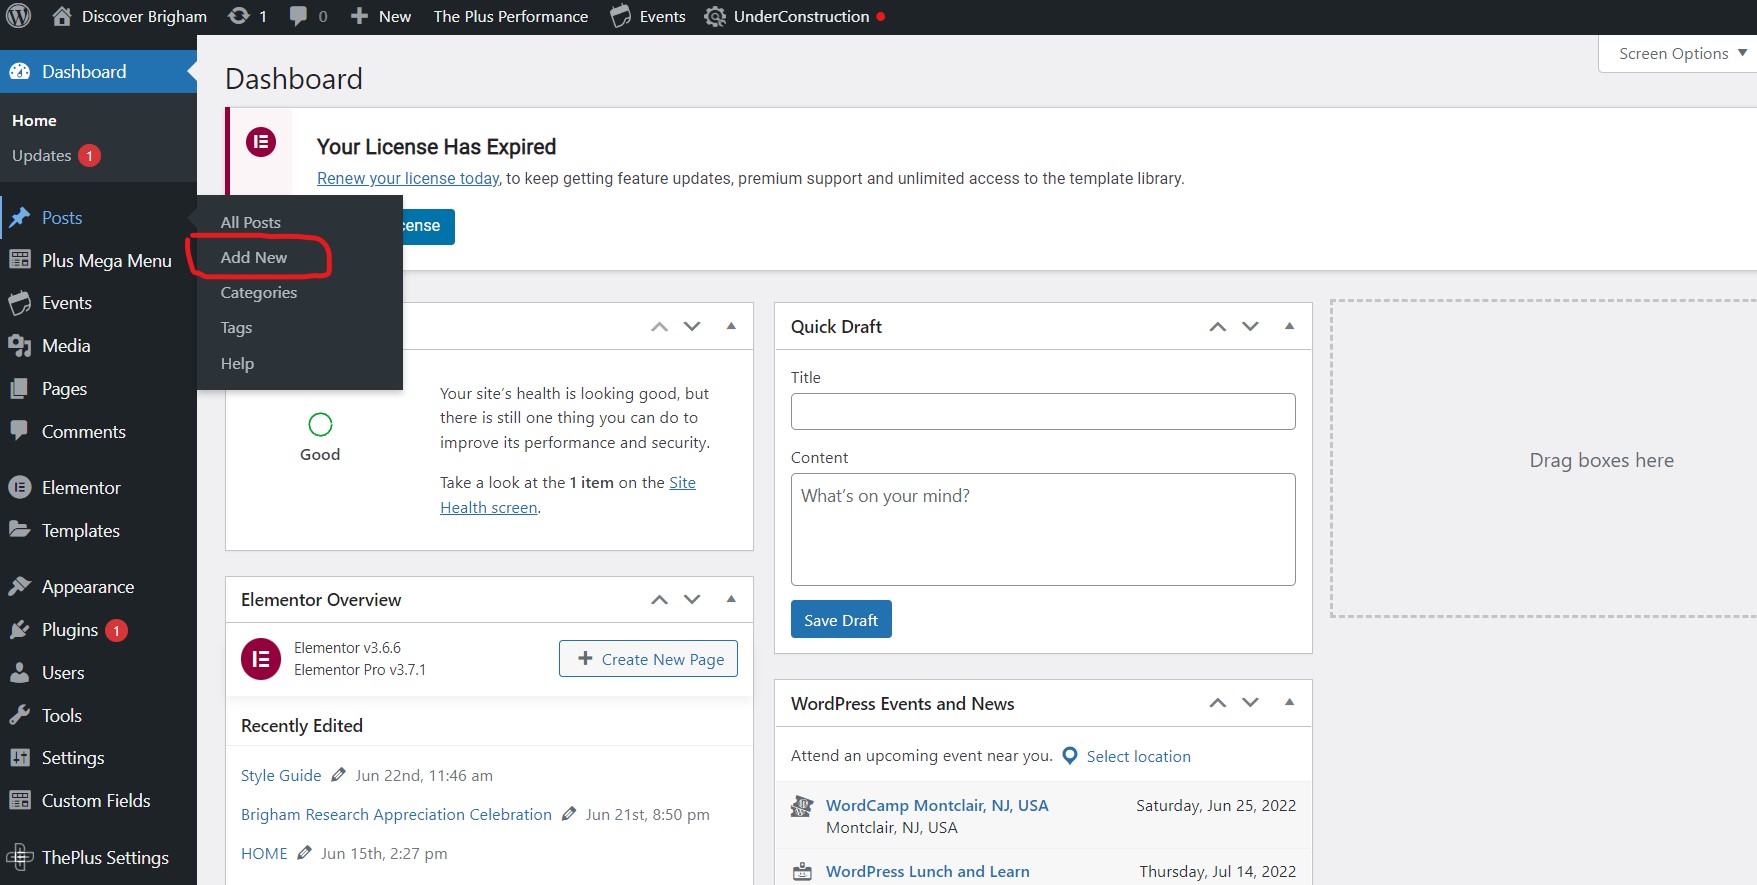
Adding Events
Event Posts vs Event Listings
When you’re creating a new event on the website, you’ll be doing two things. First you’ll create the event post, where you’ll detail the speakers, any agenda items, share videos, other materials for attendees, anything they’ll need to participate in the event. This URL will also serve as the eventual archive for this event.
You will also need to create an event listing, which will have a ‘event website’ field where you can link it to the Event Post. Why two separate things? The Event Listing on the Calendar is a temporary and BRIEF teaser for your event. The Event Post is where you have all the space you need to provide all the information.
We’ve also created a shortcut – if someone clicks on the title of the event in the Event Listing in the calendar they’ll automatically be taken to the Event Post. So most people will never even see the ‘Event Listing’ but we will still want it because it provides us with a calendar feed that can be subscribed to, as well as features like adding to Outlook.
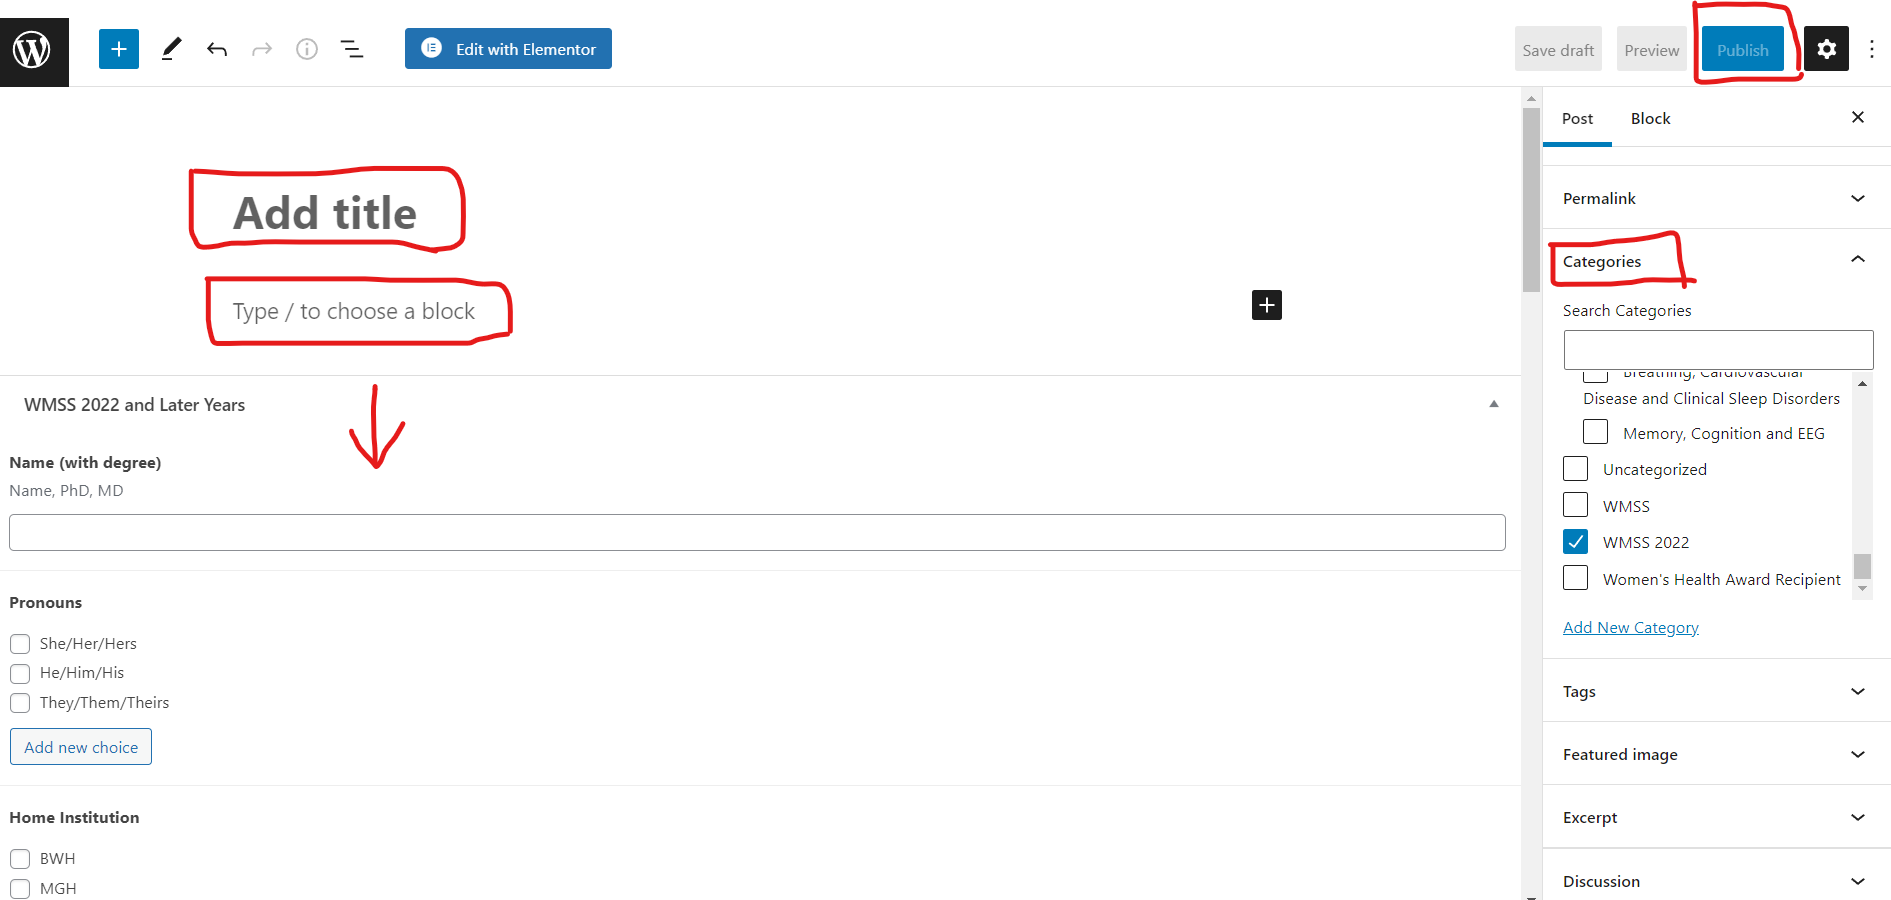
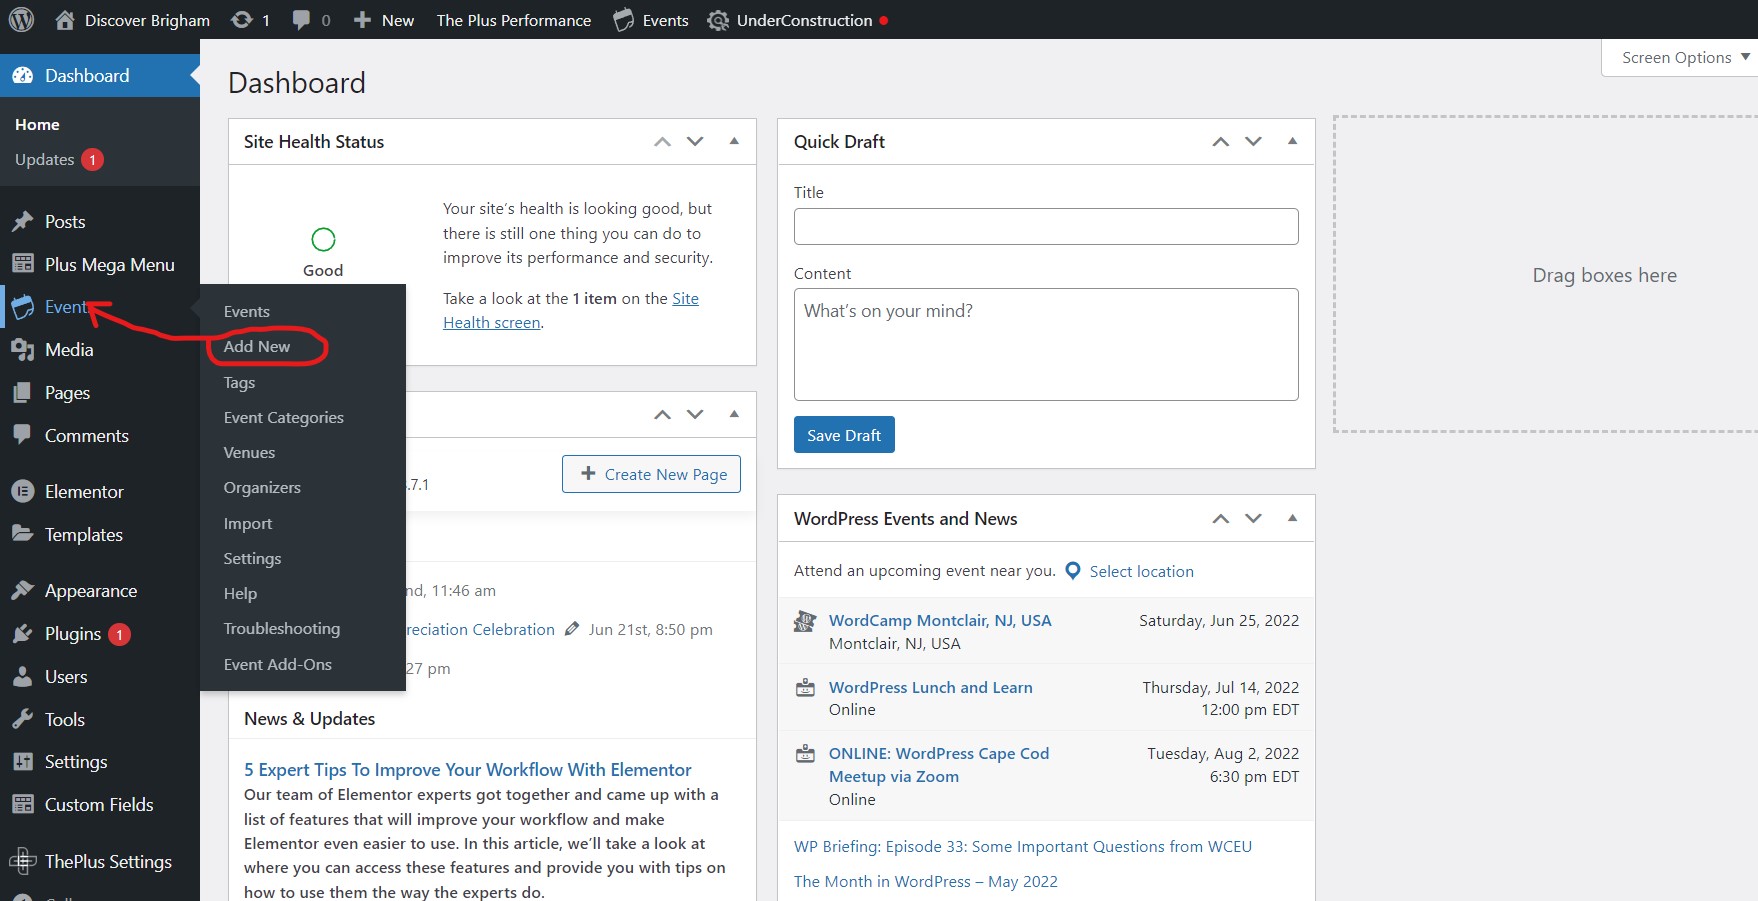
Adding Event Post Listings
Adding Event Listings
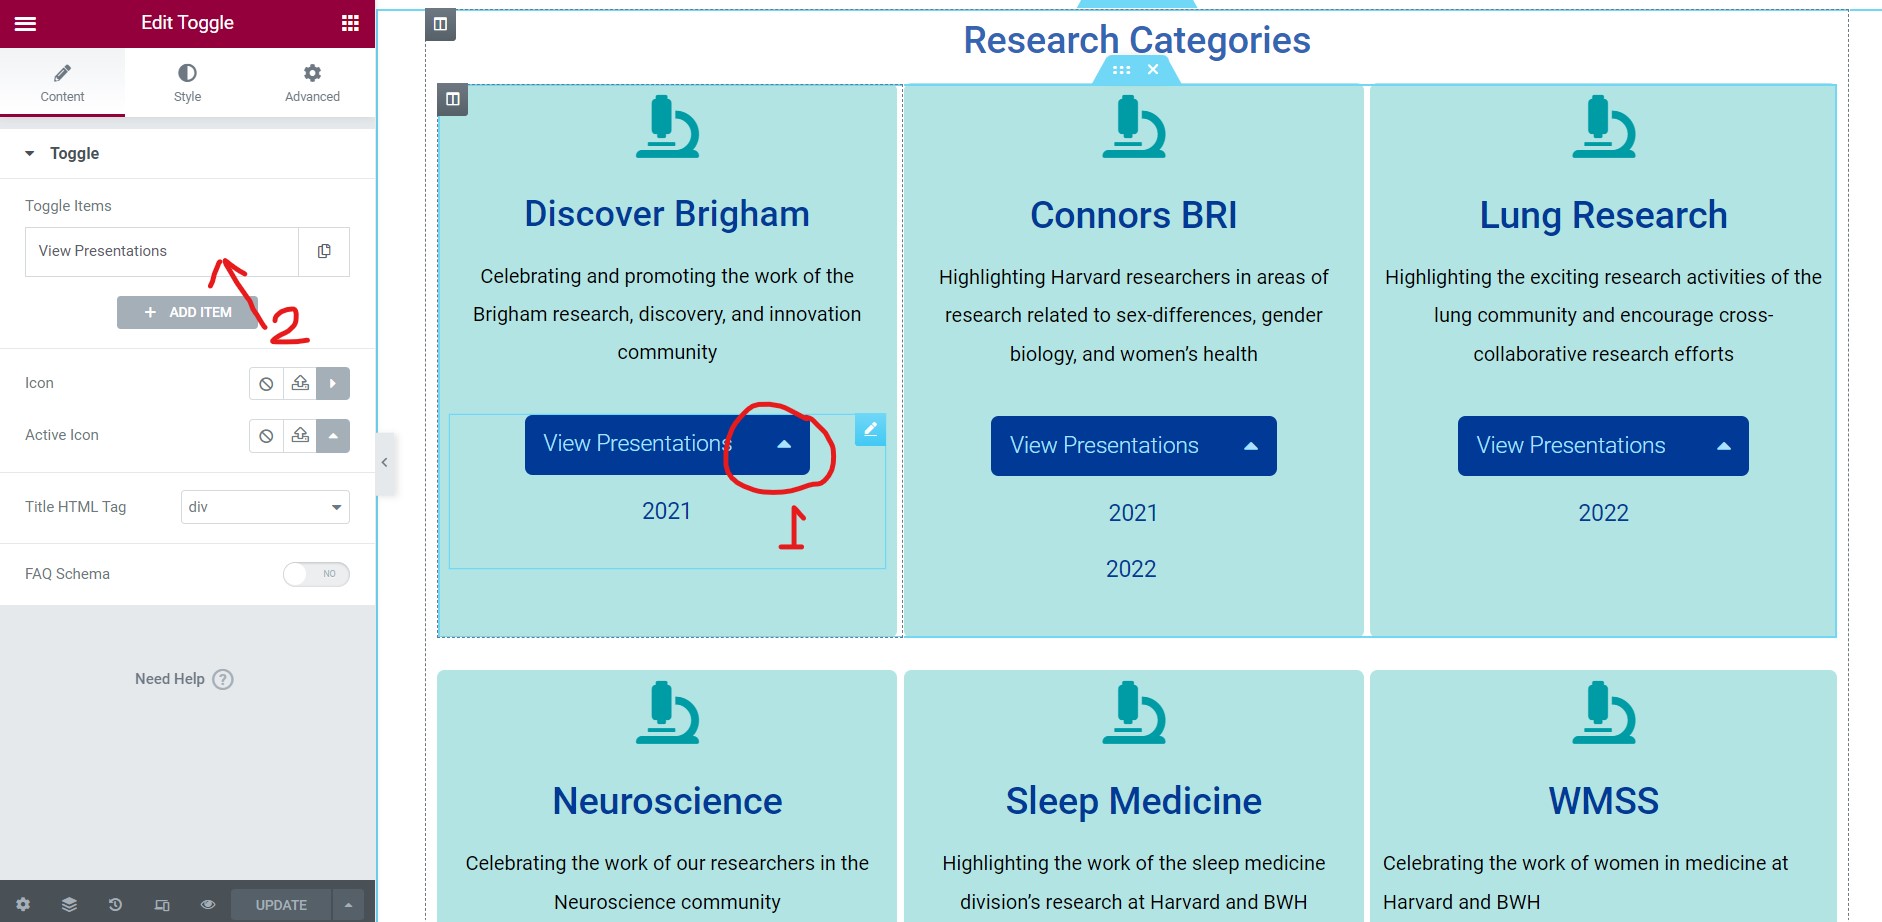
Annual Events
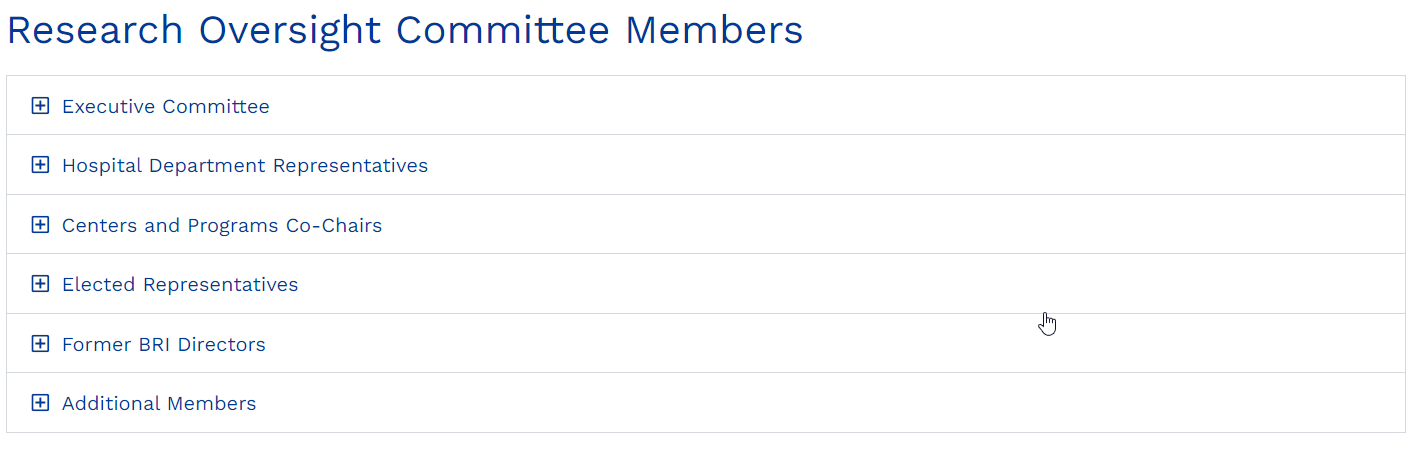
For events that are hosted annually (or regularly), we are creating Event Pages to collect the series of Event Posts (the archive of your event). This way, you have a landing page, for say the Cambridge Science Festival and then it will feature Event Posts archiving each event throughout the past 10 years. The landing page will allow you to see the history behind some of the events as well as provide more contextual information should you wish, in the accompanying descriptive text at the top of the page.
Featured Images for Events
As much as possible, Featured Images for Events should not be event graphics, but should feature people (at the previous year’s event, for example). The reason for this is that by showcasing researchers throughout the site, even in small ways like this, it creates a visual sense of community that reinforces the goal of the site – to bring researchers together.